Build-your-own#
Setup#
First up, setup your own Unity project using the current stable project configurations, download from the unity_simulator_2019 from the Bitbucket repository, this will give you a working platform to start off.
https://bitbucket.org/nusuav/unity_simulator_2019/src/master/
In Unity, there are various Unity versions, (Unity 2019.x Unity 2020.x) especially those with LTS are Unity xxxx.4.x. When launching Unity Hub go to
installstab and you can download archived versions fromhttps://unity3d.com/get-unity/download/archive.
tip
What we use is Unity 2019.4.f9 LTS for our scripts currently.
Game Objects#
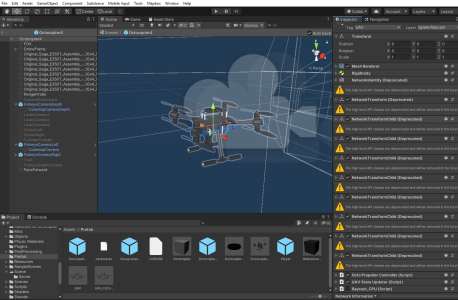
- Open a prefab.
Prefably use a created prefab (these are pre-created models), the Octocopter.x is one of them.
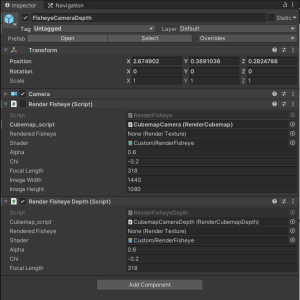
- Create a game object, these are such as camera, render textures, 2D textures etc. By right clicking on the left side of the Unity interface.
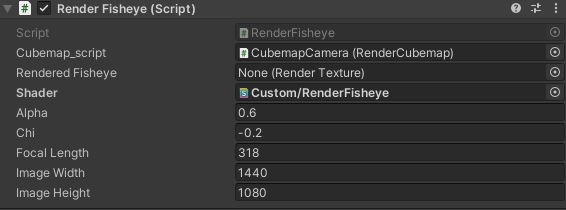
- Attach a written script to the game object by Add Component at the bottom of the inspector (Right Side).
Scripting essentials are the namespace and the public and private components/variables. public are editable in the inspector and private are not.
- Attach Public components, with objects and your own variables.
tip
Some examples of scripting public/private variables :
using System.Collections; using System.Collections.Generic; using UnityEngine; using UnityEngine.Rendering; public class NameofClass : MonoBehaviour { public Texture2D Texture; public GameObject GameObject; public RenderTexture RenderTexture; public Shader Shader; public Material Material; }