New Page Creation
Overview#
The pages are available as source code from our server, available as remote folder. It can be accessed by VS Code directly, or using mounted network drive option.
Access the Folder in VS Code (Remote SSH)#
tip
This is the more convenient way of editting the documentation files, and at the same time obtain a command prompt.
In VS Code, install plugin Remote - SSH. Then at the bottom-left corner, press the green button open a remote window, follow the prompt at the top to proceed for the user at host (tsluser@172.18.72.192), password (given to you) key-ins.
The website folder is located at
~/docusaurus_html/tl-tech-details.
Access the Folder (as Files)#
All website generation files is located at our server within NUS intranet (VPN is needed if accessing outside NUS)
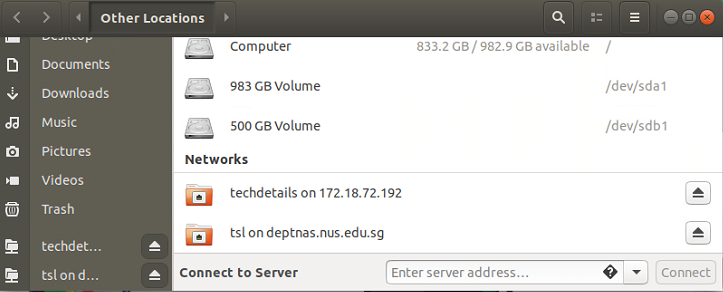
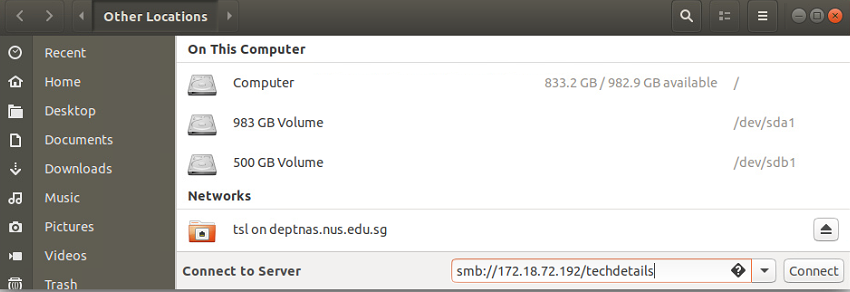
smb://172.18.72.192/techdetails/for Linux, and\\172.18.72.192\techdetailsfor Windows (Mount as network drive, instead of a network location)
  |   |
|---|---|
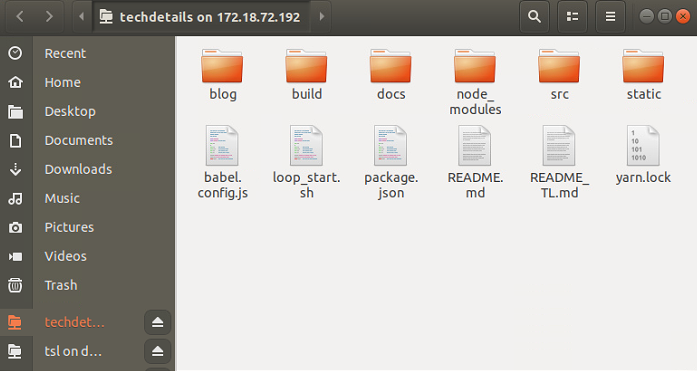
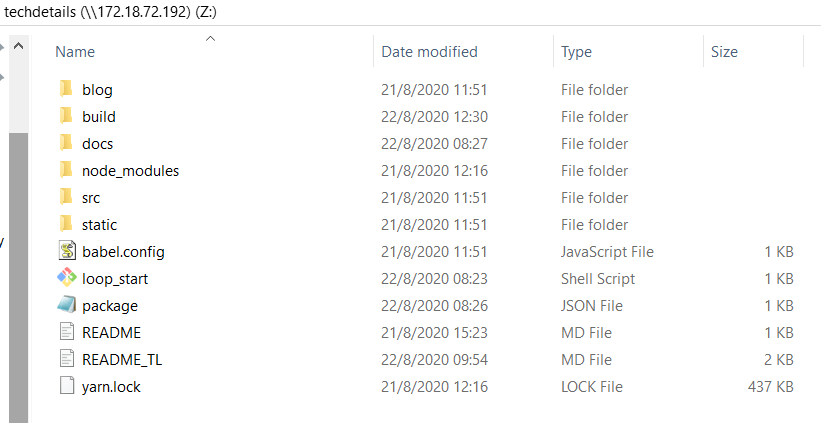
| Folder displayed in Linux | Mounted Drive in Windows |
Regarding where to put in the address
On Linux machines, go to the file explorer, in the location bar, key in the address and press enter.
 |  |
|---|
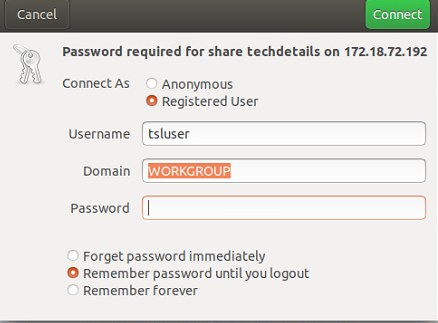
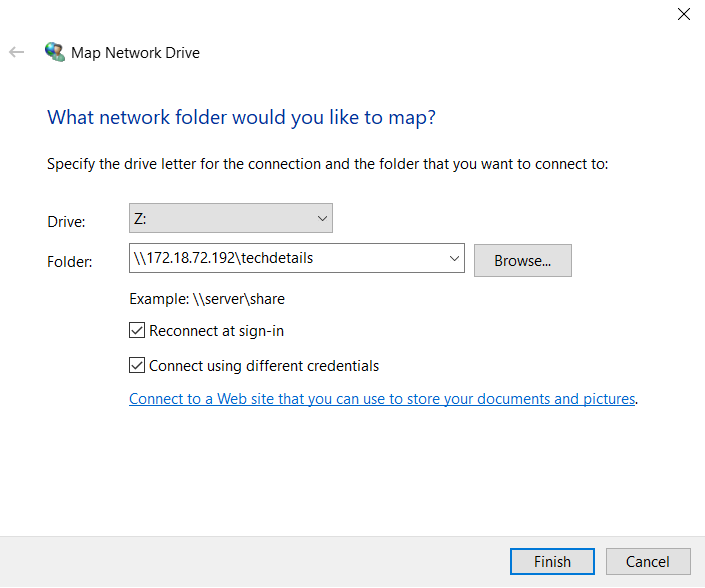
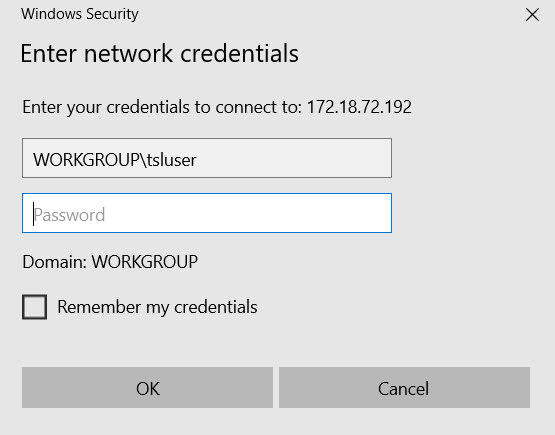
On Windows machines, go to file explorer --> This PC (Computer) --> Map network drive, then key in the credentials (switch domain to WORKGROUP)
 |  |
|---|
File Functions#
.md file#
Each page is one .md file located in the docs subfolder, arranged according to the navigation bar (e.g. ./docs/hardware/ and ./docs/systems).
sidebars.js file#
To make the page appear on the sidebar, file ./docs/sidebars.js requires modification
docusaurus.config.js file#
In rarer cases, if a new tab or sub-entries need to be created at the navigation bar (on the top of the website), docusaurus.config.js requires modification
Create a Page#
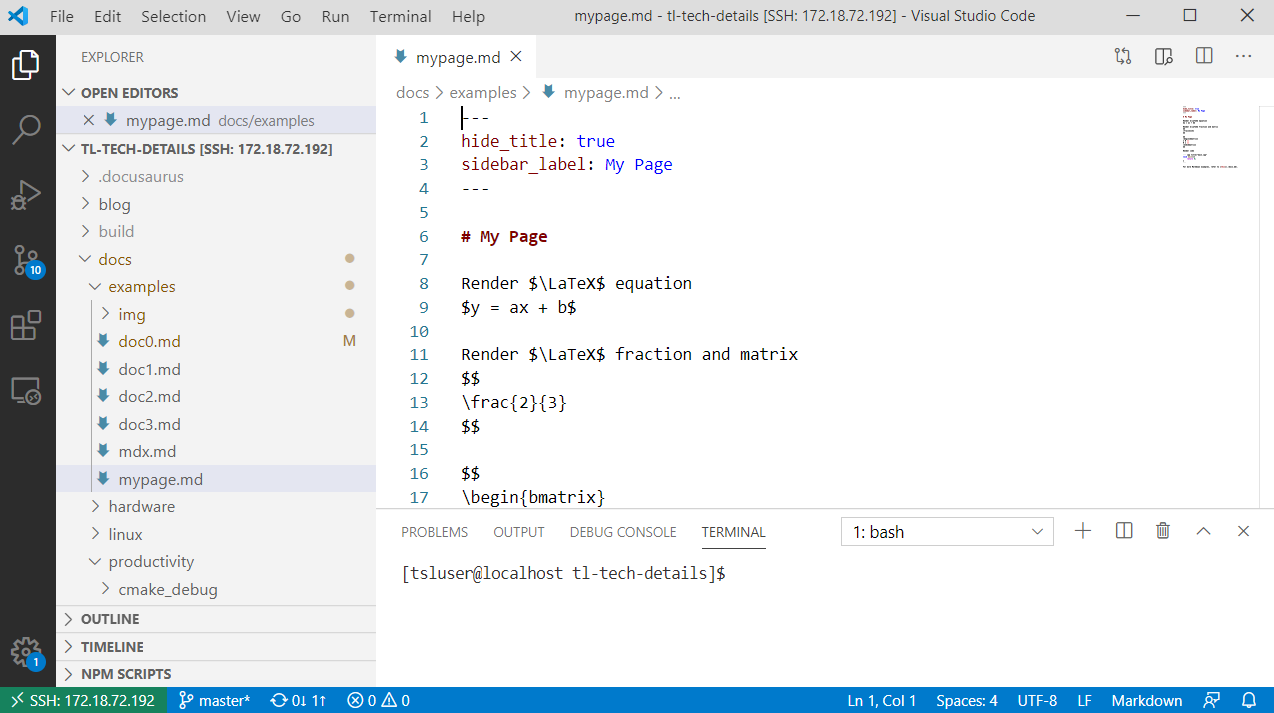
Creating a page is as simple as by creating a file like mypage.md. For example, if we create the file under the path ./docs/examples/mypage.md, then the page should be immediately accessible through the live preview at port 8888:
Within the empty mypage.md, add the front matter to configure the title
---hide_title: truesidebar_label: My Page---
# My Title
The rest of your content...The end result should look like this:
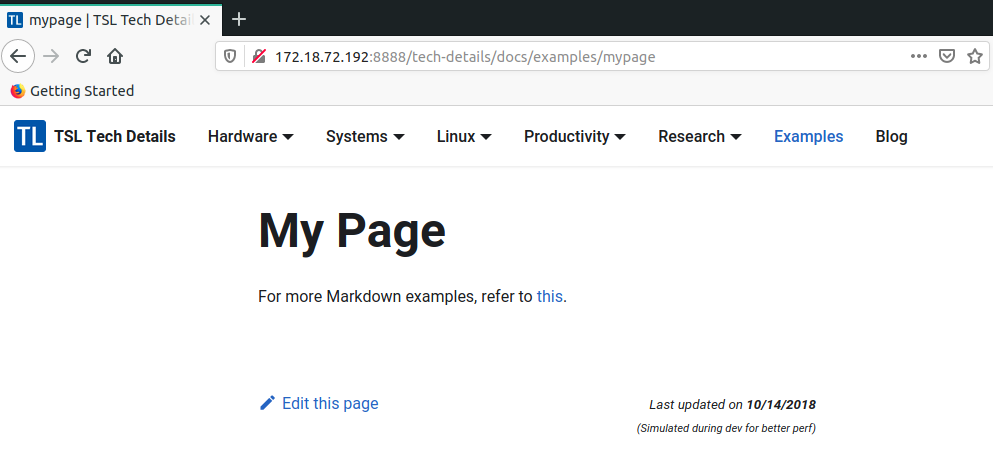
Notice that there is no sidebar available for this page, which means the page is currently not browsable unless the exact URL is keyed in. Therefore we will add the page to sidebar next.
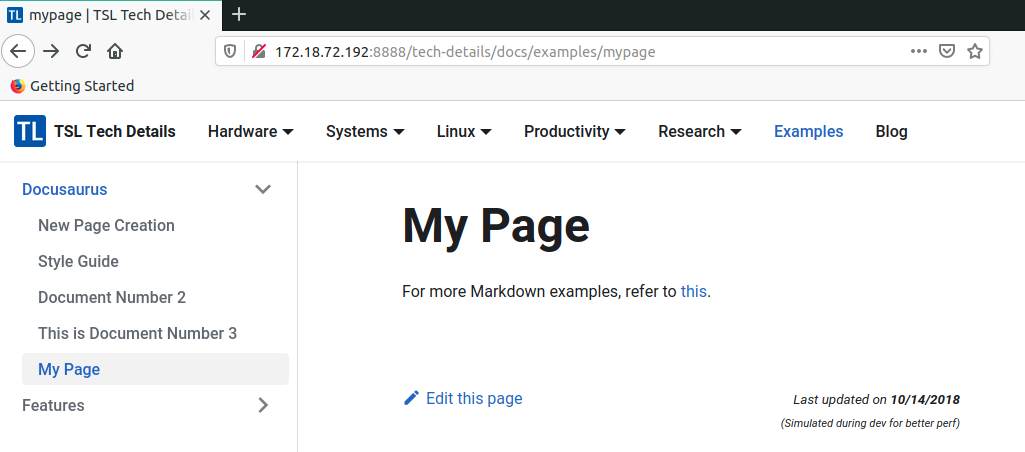
Add a Page to the Sidebar#
The file ./docs/sidebars.js is organised in blocks like this:
// systems systemsSidebar: { 'Past Platforms : pixhawk v2': [ 'systems/pixhawk_v1/pixhawk', ], 'Simulations': [ 'systems/simulation/unity-SITL', 'systems/simulation/unity-HITL', ], 'Vicon': [ 'systems/vicon', ], },Each block has a name like systemsSidebar which is arbitrary (does not affect the website display), but it logically links all relevant documents under one sidebar group.
Within each block, there can be nested levels of sidebar entries, and the format should be self-explanatory. But be reminded of the , at various places for the correct syntax. The .md postfix should be omitted when mentioning each file.
After adding content in sidebars.js, the page should now be rendered like this:
Add Important Pages to Navigation Bar#
The navigation bar is configured within the main docusaurus.config.js file. It is under the object themeConfig.navbar.items.
Each item can be nested, an example would be:
// Systems { to: 'docs/systems/vicon', activeBasePath: 'docs/systems', label: 'Systems', position: 'left', items: [ { // activeBasePath:'docs/systems/', label: 'Simulations', to: 'docs/systems/simulation/unity-SITL' }, { // activeBasePath:'docs/systems/', label: 'Vicon', to: 'docs/systems/vicon' }, { // activeBasePath:'docs/systems/pixhawk_v1', label: 'Past Platforms : pixhawk v2', to: 'docs/systems/pixhawk_v1/pixhawk' }, ] },Again the syntax should be self-explanatory.
Preview Your Changes#
Preview your live changes at http://172.18.72.192:8888/tech-details/